Installing X-late from Website
Dieser Inhalt ist noch nicht in deiner Sprache verfügbar.
Overview
This tutorial shows you how to install X-late directly from the official X-late website at x-late.x-tech.io. This method is ideal for users who want to learn more about X-late’s features and pricing before installation, or who prefer to start the installation process from outside of Slack.
Prerequisites
- Slack workspace with admin permissions to install apps
- Web browser access to visit the X-late website
- Ability to authorize apps in your Slack workspace
Installation Steps
Step 1: Visit the X-late Website
Navigate to the official X-late website at https://x-late.x-tech.io in your web browser.
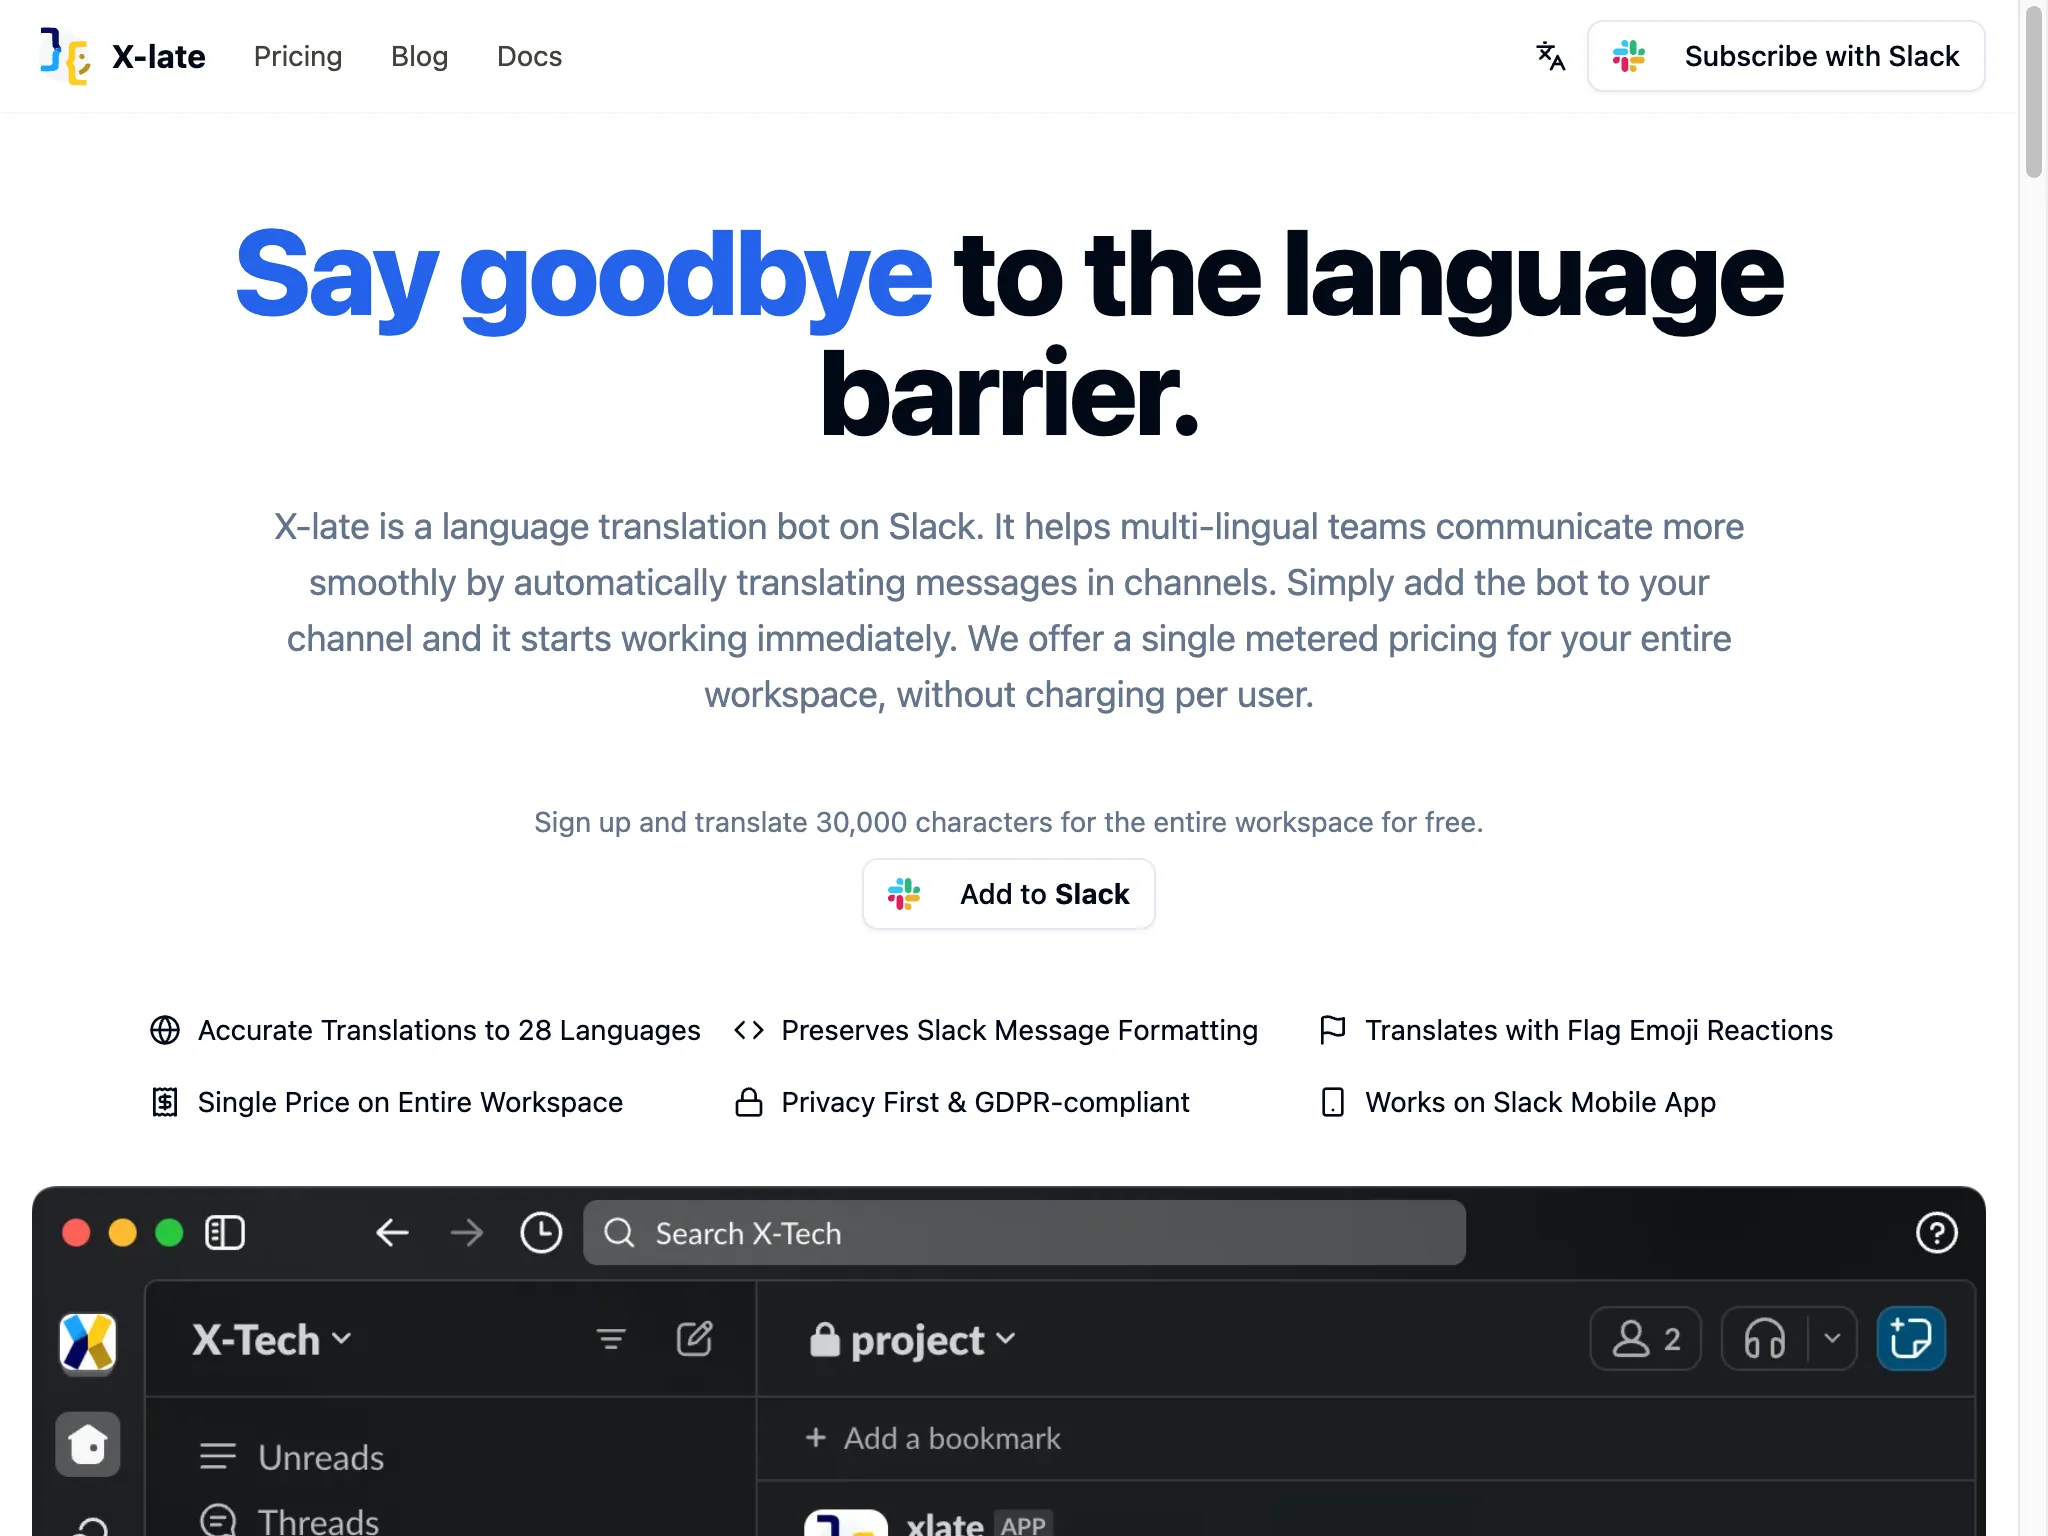
What you see on the website:
- Clear value proposition: “Say goodbye to the language barrier”
- Description of X-late as a language translation bot for Slack
- Key features and benefits prominently displayed
- Prominent “Add to Slack” button for easy installation
- Free trial offer: “Sign up and translate 30,000 characters for the entire workspace for free”
Key features highlighted:
- ✅ Accurate Translations to 37 Languages - Wide language support
- ✅ Preserves Slack Message Formatting - Maintains original message structure
- ✅ Translates with Flag Emoji Reactions - Manual translation on demand
- ✅ Single Price on Entire Workspace - Cost-effective pricing model
- ✅ Privacy First & GDPR-compliant - Secure and compliant
- ✅ Works on Slack Mobile App - Full mobile compatibility
Step 2: Start Installation Process
Click the “Add to Slack” button on the website to begin the installation process. This will redirect you to Slack’s authorization system.
Benefits of installing from the website:
- Review detailed features and pricing information first
- Understand the app’s capabilities before installation
- Access to comprehensive product information
- Direct path to installation with one click
Step 3: Slack OAuth Authorization
After clicking “Add to Slack”, you’ll be redirected to Slack’s OAuth authorization page where you can grant X-late the necessary permissions.
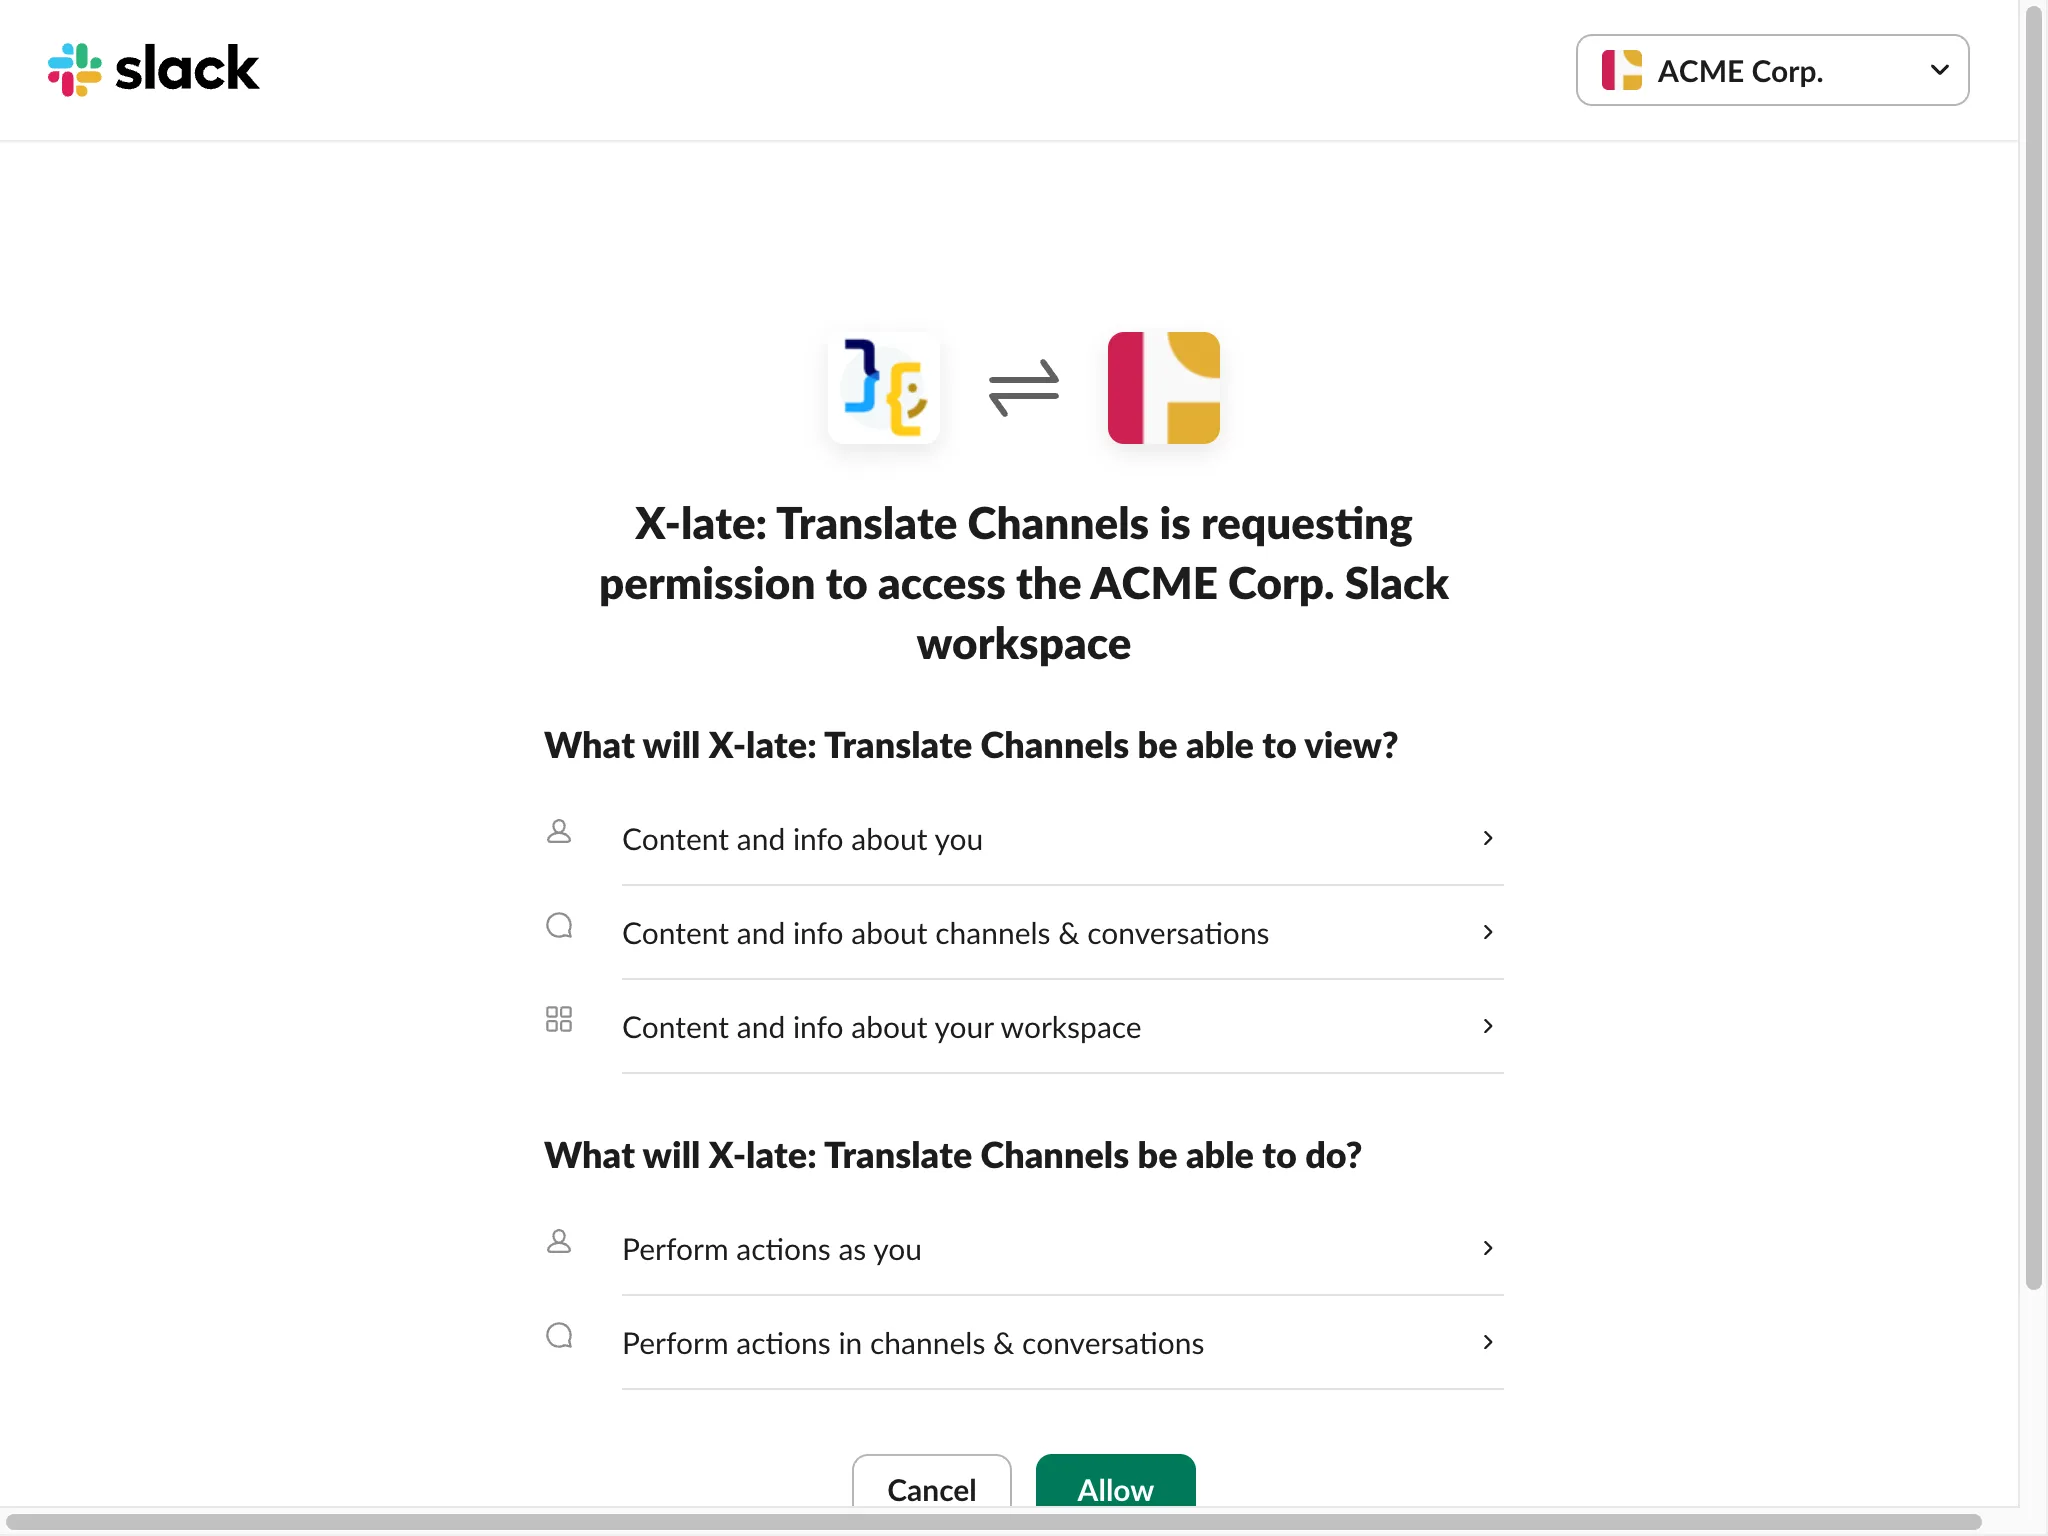
Authorization page details:
- Clear visual identification of X-late connecting to your workspace
- Your workspace name prominently displayed (e.g., “ACME Corp.”)
- Detailed permissions that X-late will request
Permissions X-late requests:
What will X-late: Translate Channels be able to view?
- 👤 Content and info about you - Basic user information for personalization
- 💬 Content and info about channels & conversations - Access to messages for translation
- 🏢 Content and info about your workspace - Workspace details for proper integration
What will X-late: Translate Channels be able to do?
- ⚡ Perform actions as you - Post translations on your behalf
- 💬 Perform actions in channels & conversations - Send translated messages to channels
Important: These permissions are necessary for X-late to:
- Detect messages that need translation
- Post translations as threaded replies
- Respond to emoji reactions for manual translations
- Provide usage statistics and workspace management
Step 4: Grant Authorization
Review the permissions carefully and click the “Allow” button to complete the installation.
Before clicking Allow, ensure:
- You have admin permissions in the selected workspace
- You understand what X-late will be able to access
- You’re comfortable with the stated permissions
- You’re installing to the correct workspace
Step 5: Installation Complete
After granting authorization, X-late will be installed in your Slack workspace and you’ll be redirected back to Slack or receive a confirmation message.
What happens next:
- X-late appears in your Slack workspace’s Apps section
- You’ll receive a welcome message from X-late with setup instructions
- The app is ready to be added to channels for translation
- Your 30,000 character free trial begins
Post-Installation Setup
Once X-late is installed from the website:
1. Find X-late in Slack
- Look for X-late in your Apps section in the Slack sidebar
- You should see a notification indicating a new message
2. Read the Welcome Message
- Click on X-late to open the direct message conversation
- Read the comprehensive onboarding message
- Follow the setup instructions provided
3. Add X-late to Channels
- Use the
/invite @xlatecommand in channels where you want translation - X-late will start automatically translating non-English messages
4. Explore Features
- Try manual translations using flag emoji reactions
- Visit the Home tab to see usage statistics
- Configure channel-specific settings if needed
Key Advantages of Website Installation
✅ Informed Decision Making
- Review all features and capabilities before installation
- Understand pricing and trial limitations upfront
- Access comprehensive product information
- Compare with other translation solutions
✅ Marketing Context
- Learn about X-late’s unique value proposition
- Understand how it solves multi-lingual team challenges
- See feature comparisons and benefits
- Access customer testimonials and use cases
✅ Direct Installation Path
- Single click from website to Slack authorization
- Streamlined process from discovery to installation
- No need to search within Slack’s app directory
- Immediate access to trial and subscription information
✅ External Reference
- Easy to share installation link with team members
- Bookmarkable URL for future reference
- Access to documentation and support resources
- Direct path to pricing and subscription management
Troubleshooting
If the “Add to Slack” button doesn’t work:
- Ensure you’re logged into Slack in the same browser
- Check that pop-ups aren’t blocked for the X-late website
- Try refreshing the page and clicking again
- Use an incognito/private browser window
If authorization fails:
- Verify you have admin permissions in your workspace
- Check that your workspace allows third-party app installations
- Ensure you’re selecting the correct workspace during authorization
- Try the installation process again after a few minutes
If you can’t find X-late after installation:
- Refresh your Slack client (web or desktop app)
- Look in the Apps section of your sidebar
- Check for any error messages or notifications
- Contact your workspace administrator if needed
Next Steps
After successfully installing X-late from the website:
- Complete the onboarding process - Follow the X-late Onboarding Guide
- Add X-late to channels - Start with your most active multi-lingual channels
- Test translation features - Try both automatic and manual translations
- Monitor your usage - Keep track of your free trial character limit
- Consider subscription - Upgrade when you approach your usage limits
- Train your team - Share the onboarding guide with team members
Comparison with Other Installation Methods
Website Installation vs. Slack App Directory:
- Website: Better for research and feature discovery
- App Directory: Faster if you already know you want X-late
When to choose website installation:
- First time learning about X-late
- Need to understand pricing before installation
- Want to see detailed feature comparisons
- Installing for a team and need to justify the decision
- Prefer comprehensive product information before commitment
Installing X-late from the website provides the most comprehensive introduction to the app’s capabilities while maintaining a simple, one-click installation process.