X-late Onboarding Guide
Dieser Inhalt ist noch nicht in deiner Sprache verfügbar.
Overview
This comprehensive tutorial walks you through the complete X-late onboarding experience, from installation to using the translation features. X-late is an AI-powered translation bot that helps multi-lingual teams communicate seamlessly in Slack by automatically translating messages between 37+ languages.
Prerequisites
- Slack workspace with admin permissions (for installation)
- Basic understanding of Slack channels and messaging
Part 1: Post-Installation Experience
Step 1: Accessing X-late After Installation
Once X-late is installed in your Slack workspace, you’ll see it appear in the Apps section of your sidebar with a notification badge indicating there’s a welcome message waiting.
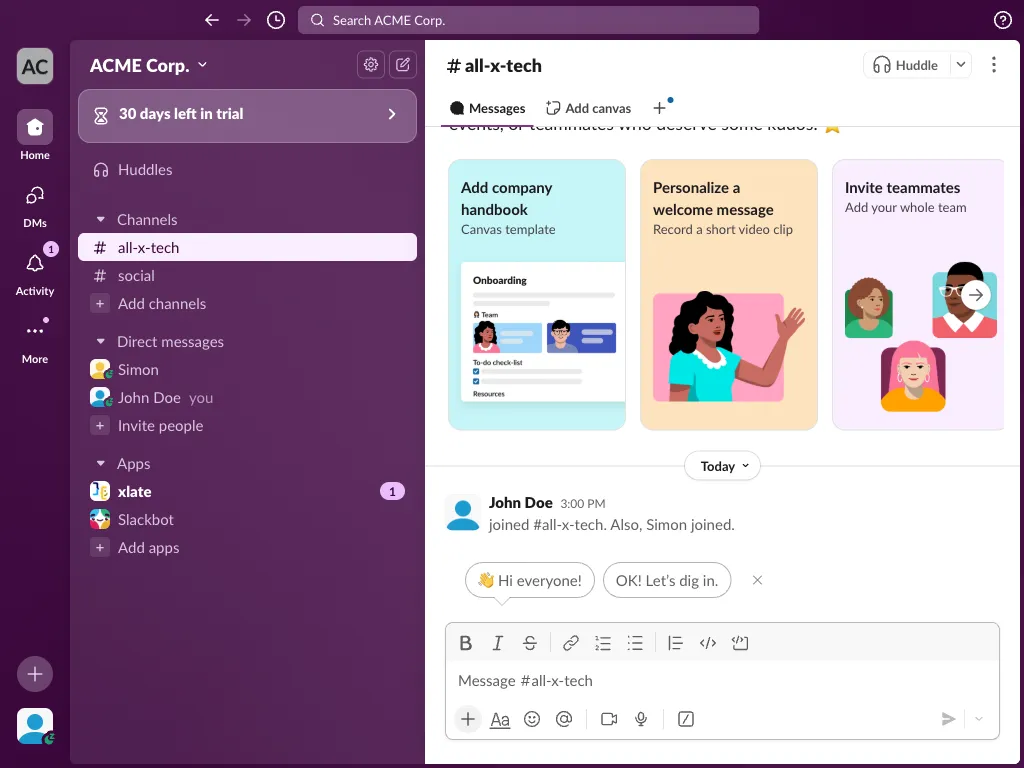
What you see:
- X-late appears in the Apps section of your sidebar
- A red notification badge (showing “1”) indicates there’s an unread message from the app
- The app is ready to be configured and used
Step 2: Reading the Welcome Message
Click on X-late in your sidebar to open the direct message conversation and read the comprehensive welcome message.

Key information in the welcome message:
- Personalized greeting to the user who installed the app
- Clear explanation of how X-late works for automatic translation
- Instructions for manual translation using flag emoji reactions
- Link to the Home tab for usage statistics and language support
Welcome message content:
“Hi John Doe, welcome to X-late, an AI-powered translation bot on Slack that can help you seamlessly communicate to teammates!
To start using X-late, simply add the X-late app into any channel, and it will start translating any non-English messages to English in the channel. Feel free to try out the translations in this chat.
If you want to translate English message to another language, you can simply react to the message with the flag emoji of the language you want to translate to. You can try to react to this message with a 🇫🇷 flag emoji and see the French translation show up!
You can check the usage and the languages we support in the Home tab. Cheers!”
Step 3: Exploring the Home Tab Settings
Navigate to the Home tab to view your X-late settings, usage statistics, and configuration options.
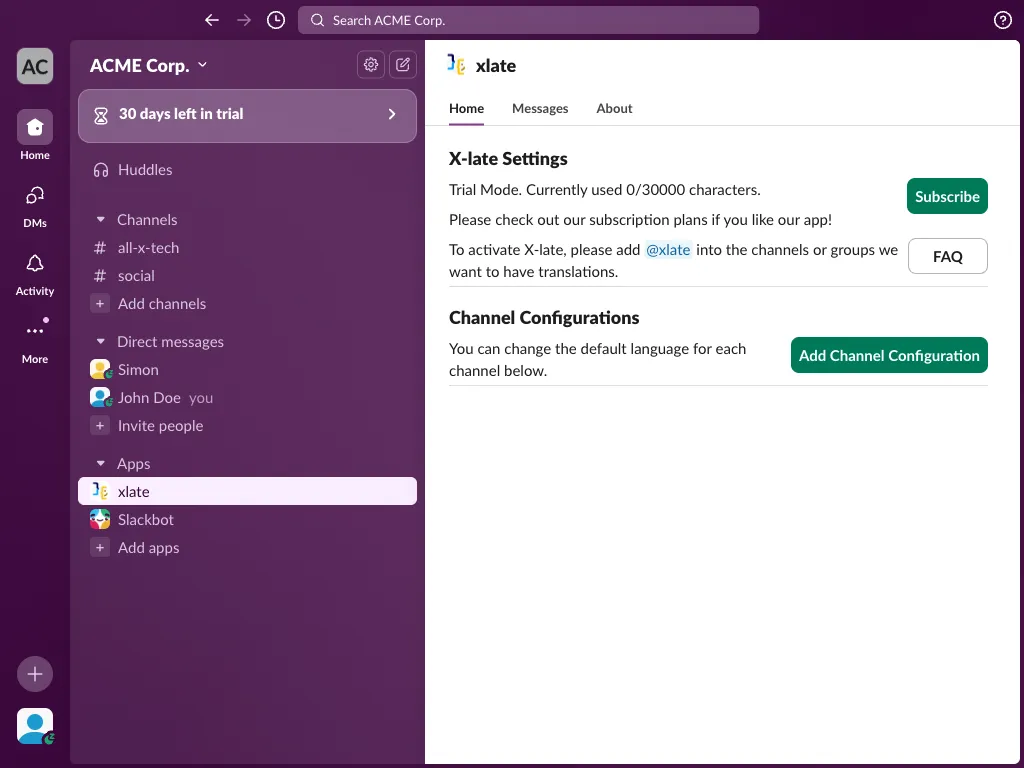
Home tab features:
- Trial Mode Status: Shows current usage (0/30,000 characters used)
- Subscribe Button: Easy access to subscription plans
- FAQ Button: Quick access to frequently asked questions
- Setup Instructions: Clear guidance on adding X-late to channels
- Channel Configurations: Manage default languages for specific channels
Key settings available:
- View current usage limits and trial status
- Access subscription options for unlimited usage
- Configure channel-specific translation preferences
- Add custom channel configurations for different default languages
Step 4: Viewing App Information
Check the About tab to learn more about X-late’s features, permissions, and additional resources.
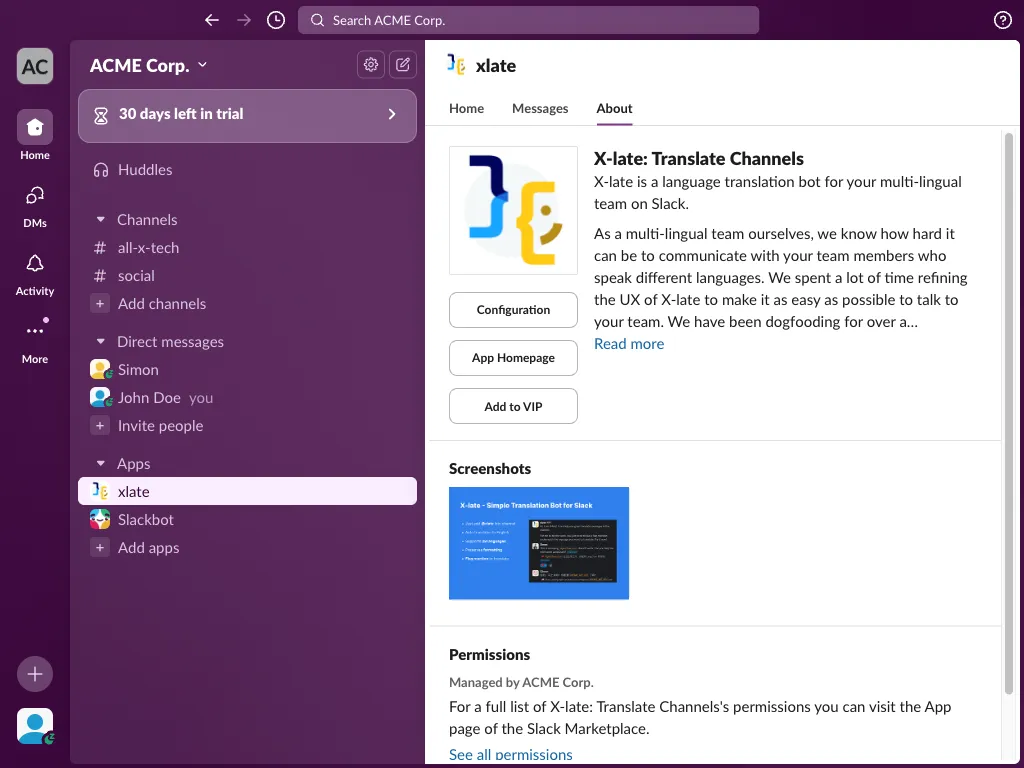
About tab includes:
- App Description: Details about X-late’s multi-lingual team focus
- Configuration Link: Direct access to app settings
- App Homepage: Link to the official X-late website
- Screenshots: Visual examples of the app in action
- Permissions: Information about what data X-late can access
- Management Info: Shows which workspace manages the app
Part 2: Adding X-late to Channels
Step 5: Inviting X-late to a Channel
To activate X-late’s translation features in a channel, you need to invite the app to that channel using the /invite @xlate command.

How to add X-late to a channel:
- Navigate to the desired channel (e.g., #all-x-tech)
- Type
/invite @xlatein the message box - Press Enter to send the command
- Wait for confirmation that X-late has been added
Confirmation messages you’ll see:
- Slackbot confirmation: “Invites have been sent! Kick back and relax while you wait for them to join.”
- System message: “xlate was added to #all-x-tech by [Your Name].”
Part 3: Using Translation Features
Step 6: Automatic Translation in Action
Once X-late is added to a channel, it automatically detects and translates non-English messages to English for better team communication.

Translation example:
- Original Spanish: “Hola equipo, ¿cómo están todos hoy? Espero que tengan un excelente día.”
- X-late Translation: “Hello team, how are you all today? I hope you are having a great day.”
How automatic translation works:
- A team member posts a message in a non-English language
- X-late automatically detects the language
- The translation appears as a threaded reply under the original message
- All team members can see both the original and translated versions
Key Features Demonstrated
✅ Seamless Installation
- App appears immediately in sidebar after installation
- Clear notification system guides users to welcome message
✅ Comprehensive Onboarding
- Detailed welcome message explains all features
- Interactive suggestions (try reacting with flag emojis)
- Multiple information tabs (Home, Messages, About)
✅ Easy Channel Setup
- Simple
/invite @xlatecommand to add to channels - Clear confirmation messages
- No complex configuration required
✅ Automatic Translation
- Real-time detection of non-English content
- High-quality translations using AI
- Preserves original message while adding translation
✅ Usage Management
- Trial mode with generous character limits (30,000 characters)
- Clear usage tracking and subscription options
- Channel-specific configuration options
Next Steps
After completing this onboarding process, you can:
- Add X-late to more channels using the same
/invite @xlatecommand - Try manual translations by reacting to messages with flag emojis
- Configure channel-specific settings in the Home tab
- Monitor usage and upgrade to a paid plan when needed
- Explore advanced features like custom language preferences per channel
Troubleshooting
If X-late isn’t translating messages:
- Ensure the app has been added to the channel with
/invite @xlate - Check that the message is in a non-English language
- Verify you haven’t exceeded your usage limits
If you can’t find X-late in the sidebar:
- Refresh your Slack client
- Check the Apps section in your sidebar
- Contact your workspace admin if installation is needed
This completes the comprehensive X-late onboarding experience, showing users exactly what to expect from installation through active use of translation features.