Installing X-late from Slack App Directory
Dieser Inhalt ist noch nicht in deiner Sprache verfügbar.
Overview
This tutorial shows you how to install X-late directly from the Slack App Directory within your Slack workspace. This is the most straightforward method for workspace administrators who prefer to browse and install apps without leaving Slack.
Prerequisites
- Slack workspace with admin permissions to install apps
- Access to your Slack workspace through the desktop app or web browser
Installation Steps
Step 1: Access the Slack App Directory
From your Slack workspace, navigate to the Apps section in the sidebar and click on “Add apps” to access the Slack App Directory.
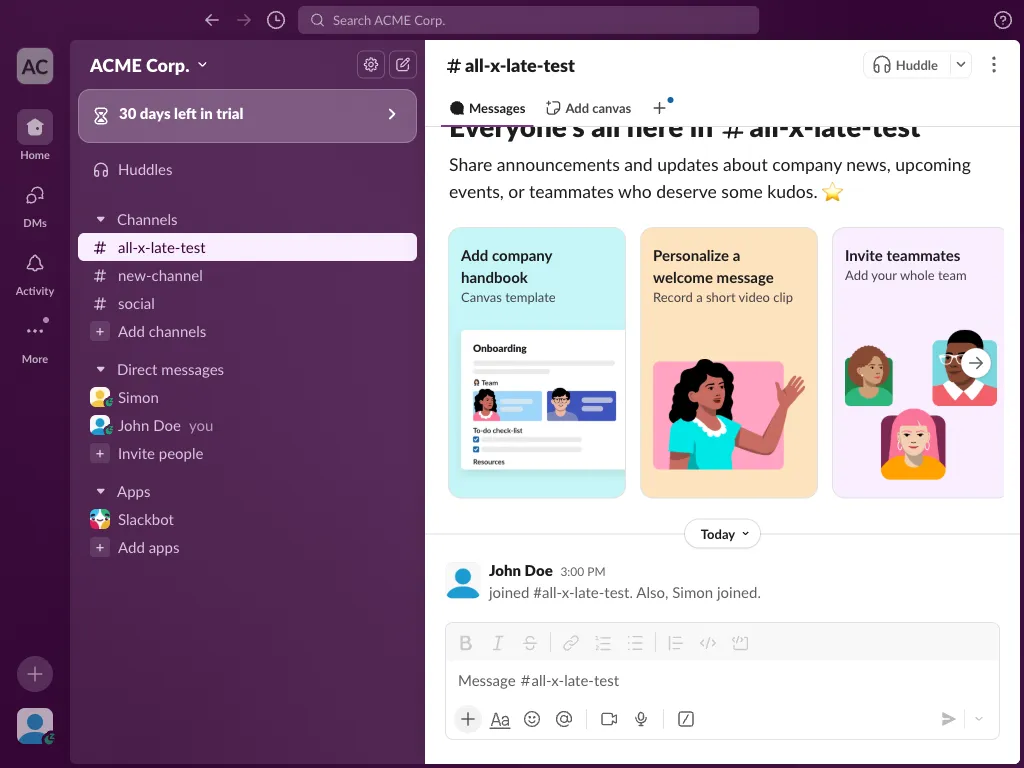
What you see:
- Your Slack workspace with the standard sidebar navigation
- “Apps” section in the sidebar with an “Add apps” option
- Various channels and direct messages in your workspace
Step 2: Open the Apps Directory
Click on “Add apps” or navigate to the Apps section to open the Slack App Directory interface.
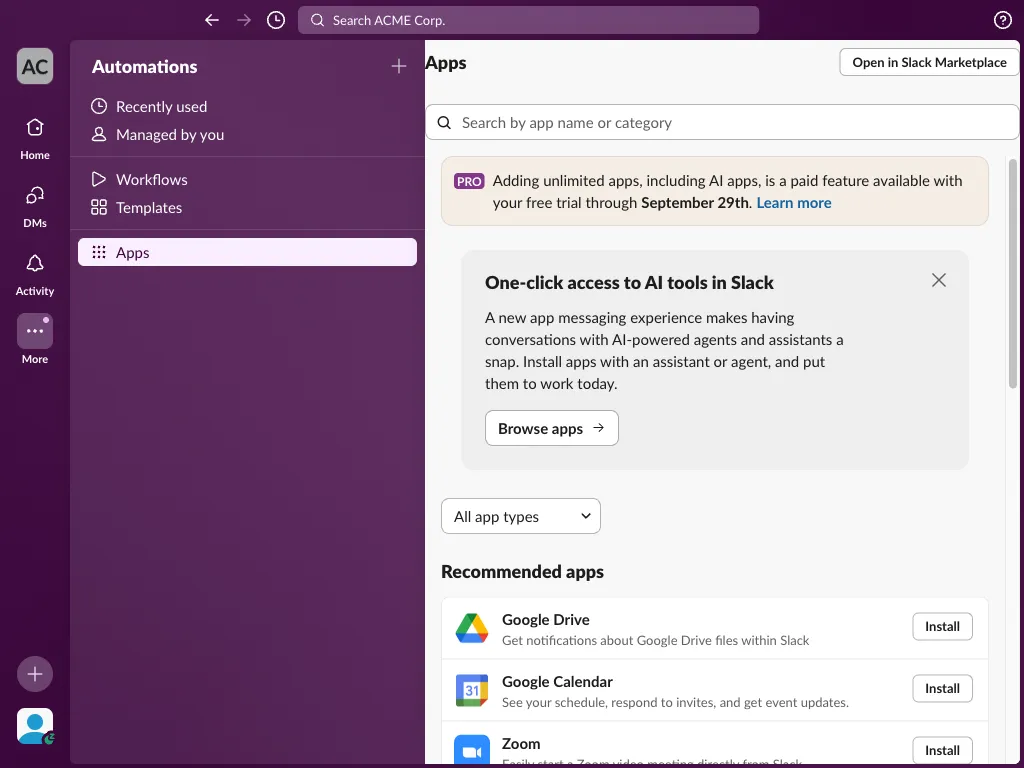
Key features of the Apps Directory:
- Search bar to find specific apps by name or category
- “Browse apps” button for exploring available applications
- Recommended apps section showing popular integrations
- Filter options to narrow down app types
- “Open in Slack Marketplace” link for external browsing
Step 3: Search for X-late
In the search bar, type “X-late” to find the translation bot. The search will show relevant apps matching your query.
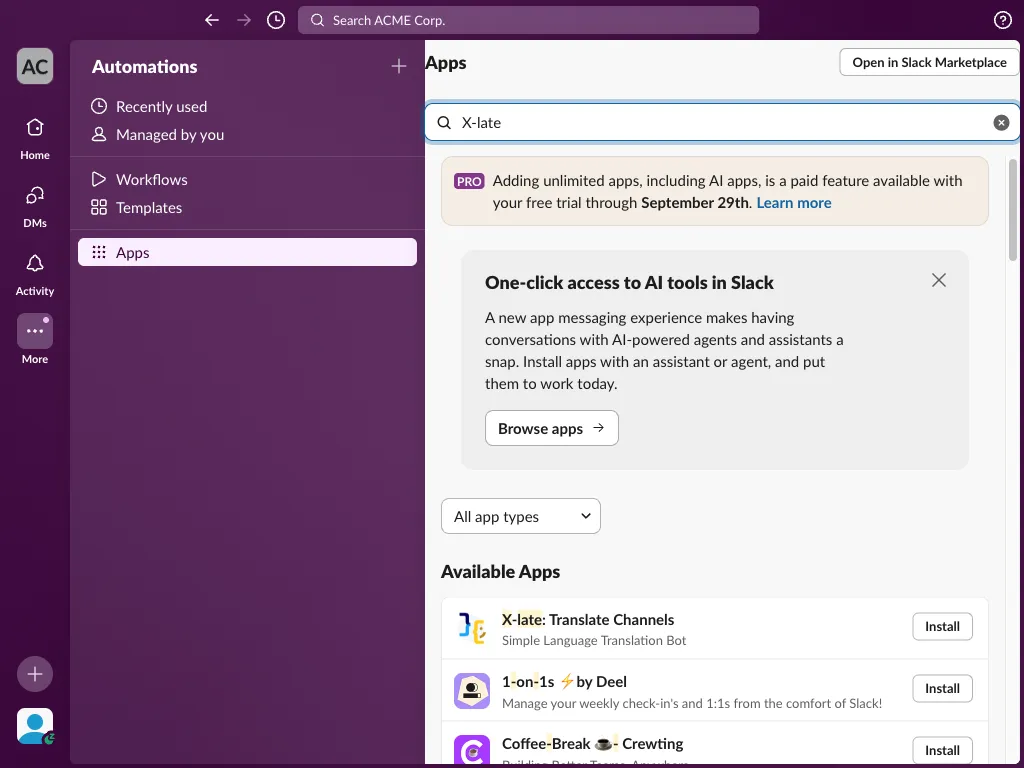
Search results show:
- X-late: Translate Channels - The main app you want to install
- App description: “Simple Language Translation Bot”
- “Install” button next to the app listing
- Other related apps that may appear in search results
Step 4: View X-late Details
Click on the X-late app listing or the “Install” button to view detailed information about the app before installation.
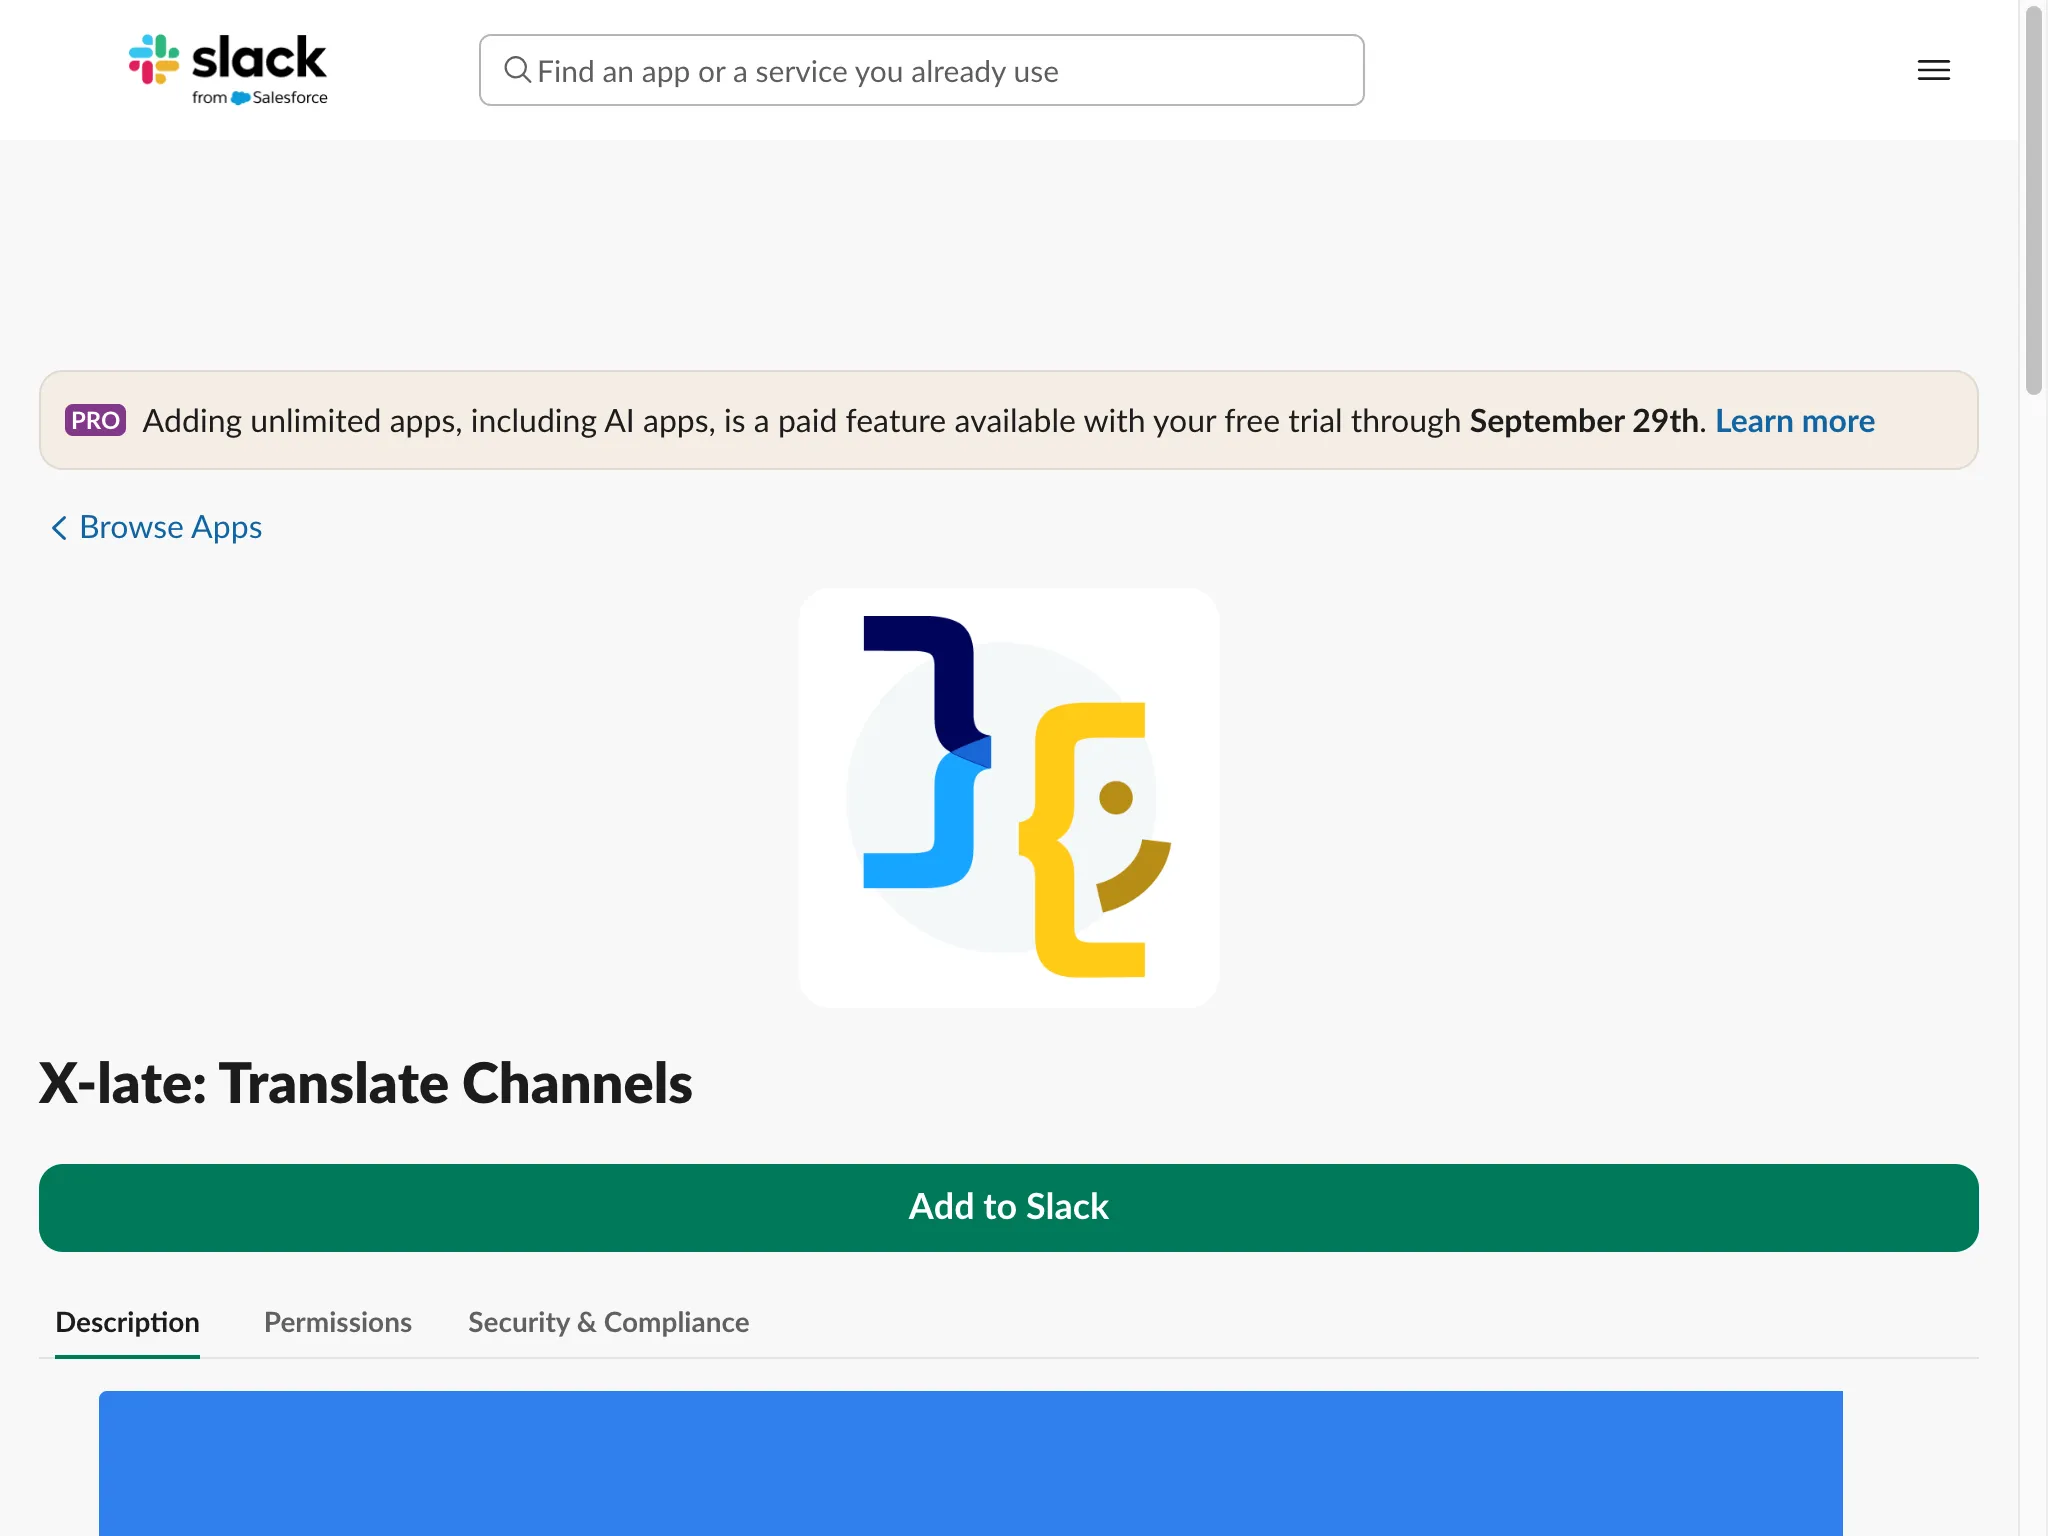
App details page includes:
- X-late app icon and branding
- Full app name: “X-late: Translate Channels”
- Large “Add to Slack” button for installation
- Tabs for Description, Permissions, and Security & Compliance
- Information about the app’s functionality and features
Key information to review:
- App description and capabilities
- Required permissions and access levels
- Security and compliance information
- Developer information and support contacts
Step 5: Install X-late
Click the “Add to Slack” button to begin the installation process. This will redirect you to Slack’s authorization page.
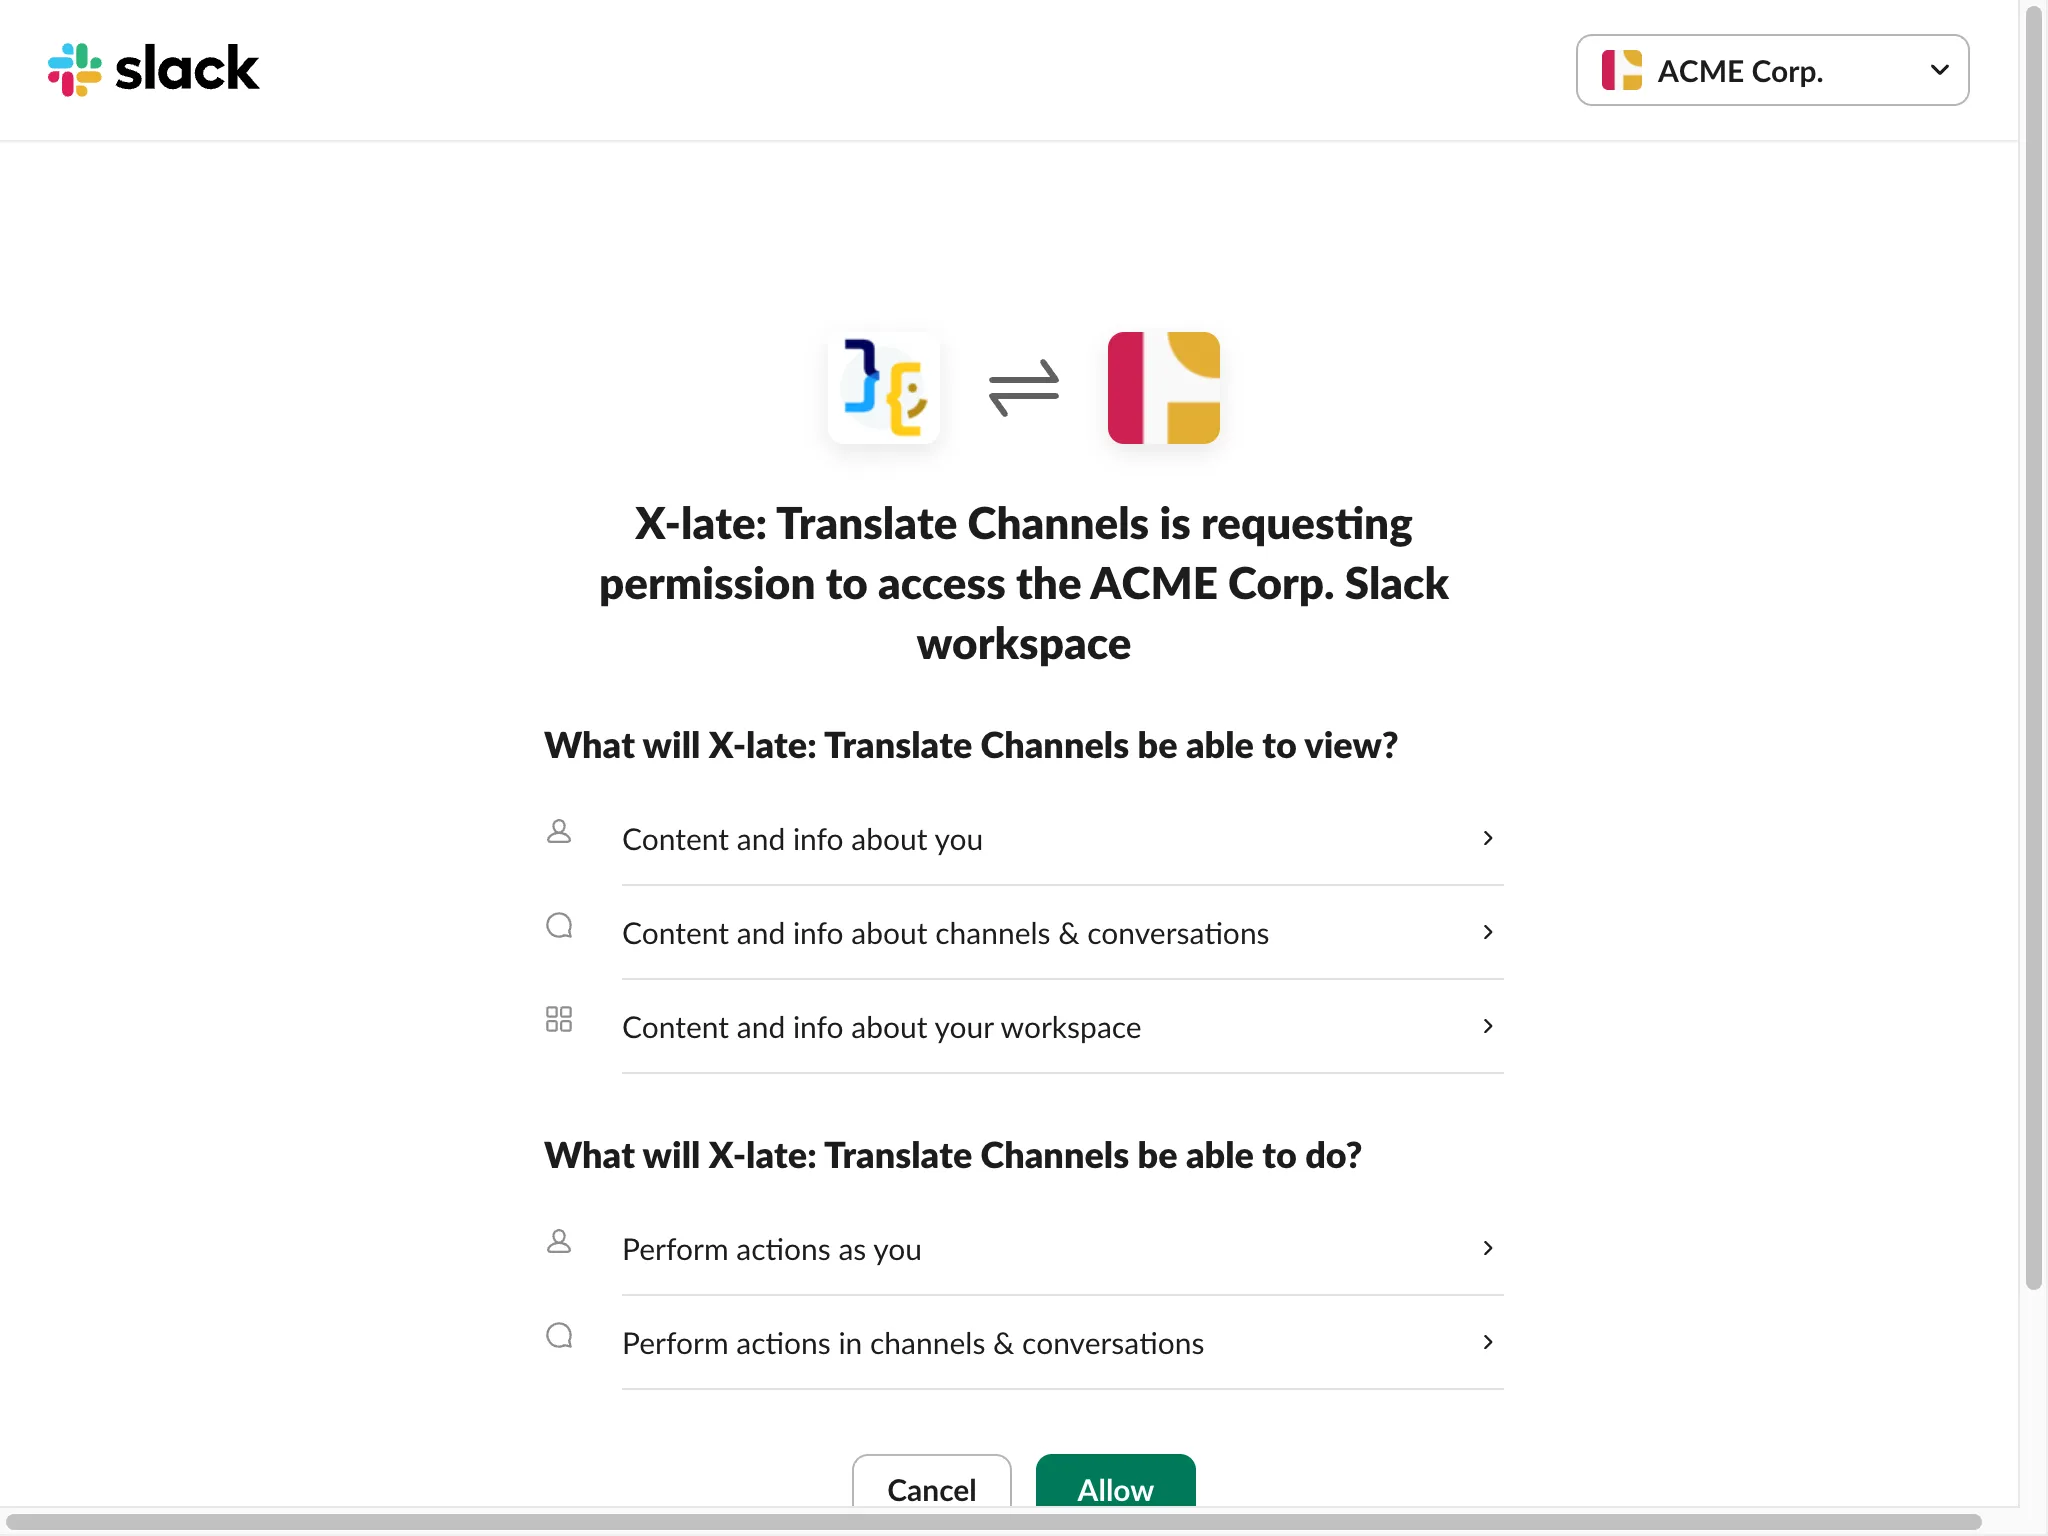
Authorization page shows:
- Clear identification of both X-late and your workspace
- Visual confirmation with app icons
- Detailed permissions that X-late will have access to
Permissions X-late requests:
-
View access:
- Content and info about you
- Content and info about channels & conversations
- Content and info about your workspace
-
Action permissions:
- Perform actions as you
- Perform actions in channels & conversations
Important: Review these permissions carefully before proceeding.
Step 6: Complete Installation
Click the “Allow” button to grant X-late the necessary permissions and complete the installation.
After clicking Allow:
- X-late will be installed in your workspace
- The app will appear in your Apps section
- You’ll receive a welcome message from X-late
- The app is ready to be added to channels for translation
Post-Installation
Once X-late is successfully installed:
- Find X-late in your sidebar - Look for it in the Apps section
- Read the welcome message - X-late will send you an onboarding message
- Add to channels - Use
/invite @xlatein channels where you want translation - Configure settings - Access the Home tab for usage tracking and configuration
Key Benefits of Installing from Slack
✅ Native Integration
- Seamless installation process within Slack
- No need to visit external websites
- Consistent with Slack’s security protocols
✅ Permission Transparency
- Clear visibility of what X-late can access
- Standard Slack OAuth authorization process
- Easy to review and understand permissions
✅ Workspace Management
- Admin controls over app installations
- Integrated with workspace app management
- Automatic updates through Slack’s system
✅ Immediate Availability
- App is instantly available after installation
- Direct access through Slack’s interface
- Quick setup and configuration options
Troubleshooting
If you can’t find X-late in search:
- Make sure you’re searching for “X-late” (with hyphen)
- Try searching for “translate” or “translation”
- Check if your workspace allows third-party app installations
If installation fails:
- Verify you have admin permissions in the workspace
- Check your internet connection
- Try refreshing Slack and attempting installation again
If you need help:
- Contact your workspace administrator
- Refer to the X-late Onboarding Guide for post-installation setup
- Visit the X-late support resources
Next Steps
After successfully installing X-late:
- Read the onboarding guide - Follow the complete setup tutorial
- Add X-late to channels - Start translating messages in your team channels
- Explore features - Try manual translations with flag emoji reactions
- Monitor usage - Check the Home tab for usage statistics and limits
- Configure preferences - Set up channel-specific language preferences
Installing X-late from the Slack App Directory provides a streamlined, secure way to add powerful translation capabilities to your workspace.